I know I said there would be Erasmus. I hear the Great Lamentations in the street when I say, “There shall be no Erasmus this week.” I offer my sympathy.
But Friday is Valentine’s Day! And posting a how-to on Valentine’s cards would be Fairly Useless next week. And I So Love Holidays.
So: today, Valentine’s Cards. Next week: Erasmus.
I have to admit, part of me is worried about the limited usefulness of a post on how to make cards. Essentially, this comes down to “Glue Things on Other Things.” But, people often comment on crafts in real life in the “I wish I could do x” vein – and they can! They just don’t know it yet. If you are one of those people, here’s what you need to do:
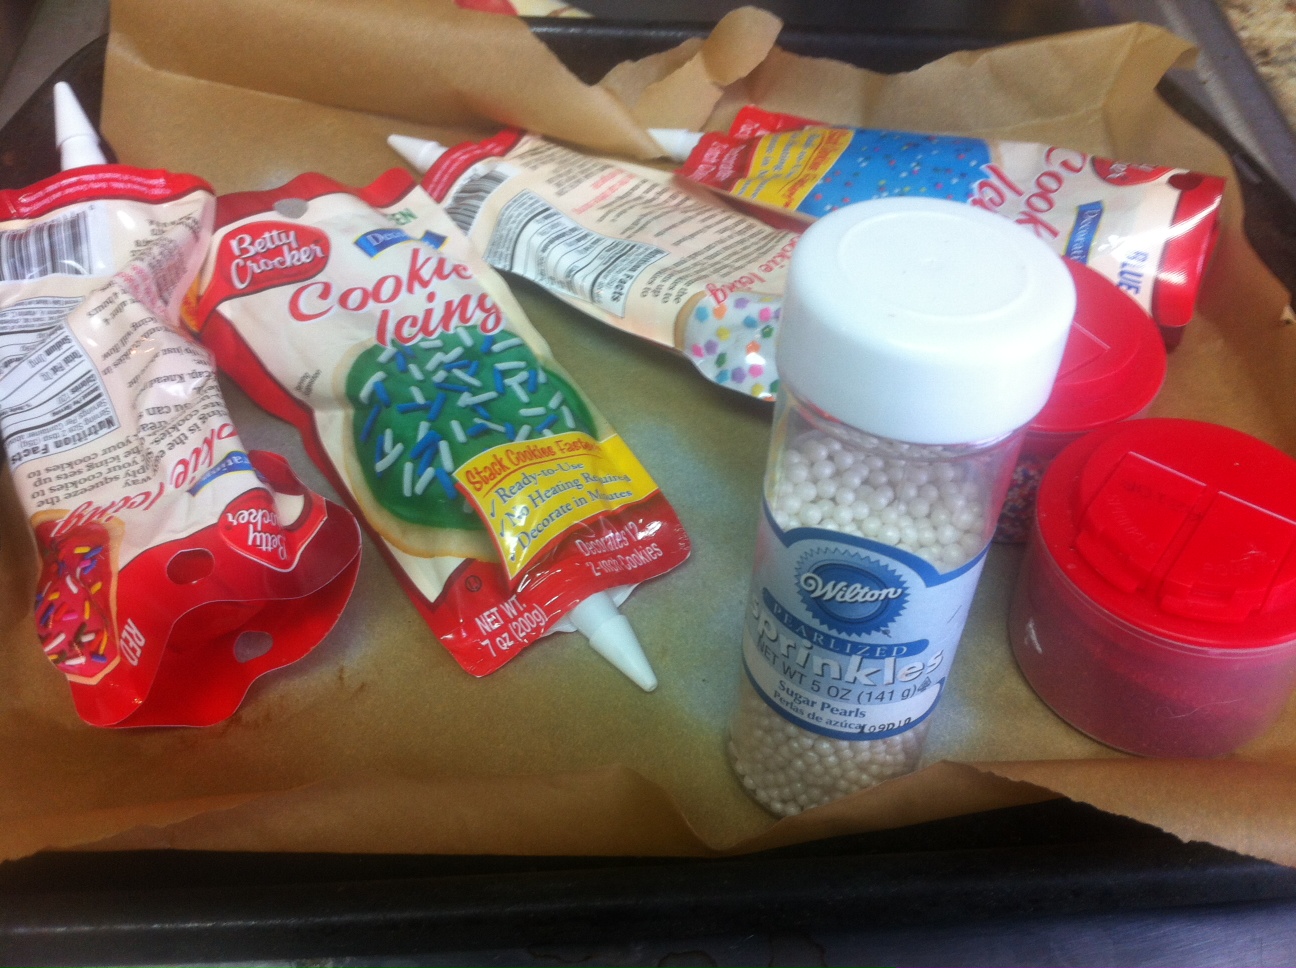
- Gather your supplies. You need blank cards, really, to make the final product look nice – bulk packages are Very Cheap, and then you’ll have envelopes already there and cut to fit. You’ll also want a selection of coordinating solid color and patterned craft papers. Double-sided are particularly nice, both because they tend to be coordinated by default and because they immediately give you more options. This year, I also used washi tape, because Amazing. In the past, I have often used either sticky-backed ribbon or normal ribbon – I also have a little sticker making machine that was fairly cheap and is one of my favorite craft items. I, myself, don’t go in much for sheet stickers, generally – I have a hard time using them in a way that doesn’t feel tacky, even if only to me. This may be because my usual reaction to Glitz is “Keep Adding More.” If you are more Trustworthy and Restrained, stickers may be right up your alley.
These were My Supplies. While I feel like the papers all coordinate to some degree, I did definitely have certain colors in mind for a “pink” set and certain others in mind for a “vintage” set. The selection as pictured here veers a bit towards the vintage, because the pink were double-sided. Also: Washi Tape.
- Once you’ve got your materials together, you should spend some time thinking about some final products you want – whether Very Detailed or just “I want this color with that color.” You probably have a list of the people you’re making for – jot notes next to each to guide you along. I’m not including a picture of my list, because I’m already Sad that some people will be seeing their cards ahead of time; I’m certainly not going to tell them which card is theirs.
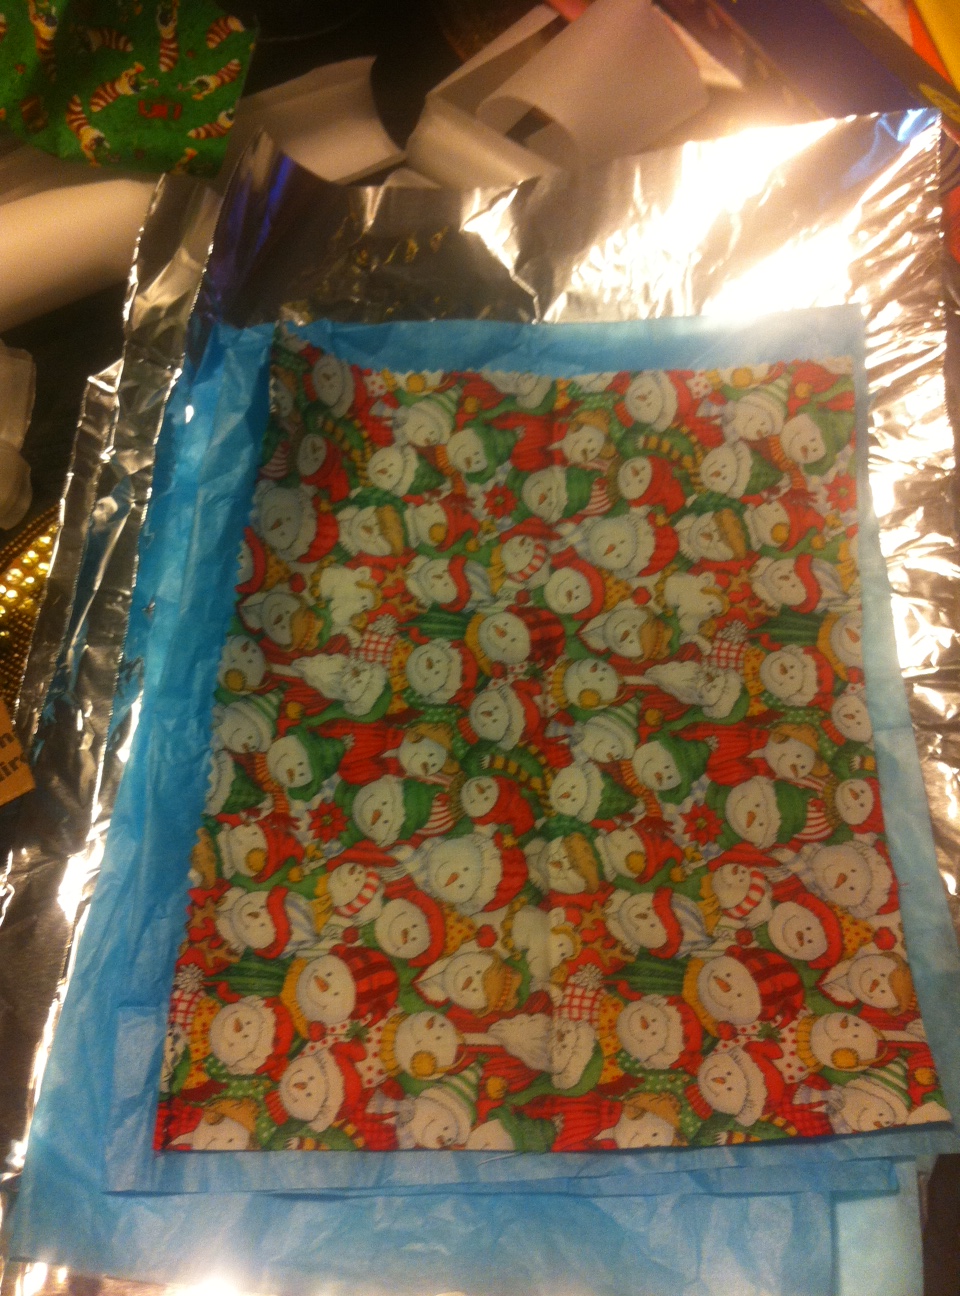
- Most of the time, you’ll want to use a solid piece of craft paper for the background of the outside of the card. Whether the background covers the front and back or only the front is Entirely Up to You. I tend to do a bit of both, depending on the final product I have in mind. A Cricut is great for these; I can’t cut a straight line to save my life, so for me it’s actually pretty indispensable. Thoroughly glue the paper to the card, concentrating on getting the edges sealed down.
The examples I’ll be using for most of my construction pictures are of my nieces’ cards, since they are Not Likely to be reading this. For all three of these cards, I just cut out a piece to fit the front part of the outside of the card.
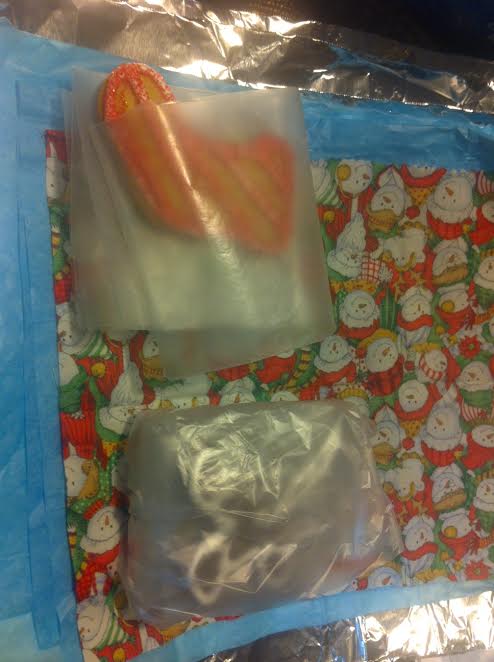
- Next, work on other background elements or trim. If you’re using washi tape, you might use some to seal the edges of parts of the card or to delineate particular spaces. You might also add another background piece – like a stripe or a rectangular “frame” – at this point. Having some sort of Extra Element, rather than just a background and then a heart or message, will usually make for a more finished looking card. For the best results, just cut any paper elements for now and coordinate them on the card as you’d like to see them. Don’t glue yet!
You can see where I used the washi tape as a more decorative element on the card to the left. On the card to the right, the washi tape is just sealing the bottom edge. There will be a rectangular element on the glitter-y card, but it could not be photographed on the cards standing upright, because it hasn’t been glued to the card yet – pay attention!
- Most cards need some kind of Anchoring Element on the front. Because these cards are for Valentine’s Day, it’s hard to go wrong with a basic heart shape. “Love” and “XO” lettered out also work nicely. In past years, I’ve sometimes used papers that had nice shapes just waiting to be cut out and made into that Main Element – love birds, cupids, etc. If you have a paper like that, remember to leave a slight edge all around your shape, which will look Much Nicer than if you try to cut right along the lines. Put these shapes together with your other elements. Push things around until the card is Just Right, then glue. Again, concentrate on edges. One advantage of a glue stick: you can set it upright and rub smaller shapes across the top of it, making sure you get their little spaces.
Some really simple shapes sealed with washi tape were the base for the back left and front center cards; then just some hearts and lettering to anchor the designs.
- Make sure to write A Little Something in each card! I am not a Great Writer in Cards; I hope that the work I put into the cards speaks a bit for me, instead. A simple “Happy Valentine’s Day” will do just fine. I am not showing pictures of this, either, for the same reasons as above.
See?! Easy Peasy! You can do that. And here are a few other designs for inspiration:
The entire front of this card is washi tape stripes. Just go slowly and you won’t have any trouble lining them up. The “love” element is cut out from decorative paper. I wrote it out in cursive in dark, soft pencil on a sheet of notebook paper, sketched that out into bubbly letters, then pressed that facedown on the back of the decorative paper and firmly traced back over the lettering. The pencil will transfer and show you where to cut.
Very Simple: Four layers of background in decreasing widths. Seal with washi tape along the bottom edge. Heart cut out. Love.
And finally, here are the twelve I did this year all together:
Give yourself some basic patterns and templates to work from and those coordinating papers, and you should be able to create several cards you like, in a Reasonable Amount of Time, without feeling like an Assembly Line.
Happy Valentine’s Day!!!